Create a Scenario#
Before we can run the model, we first need to build a Scenario.
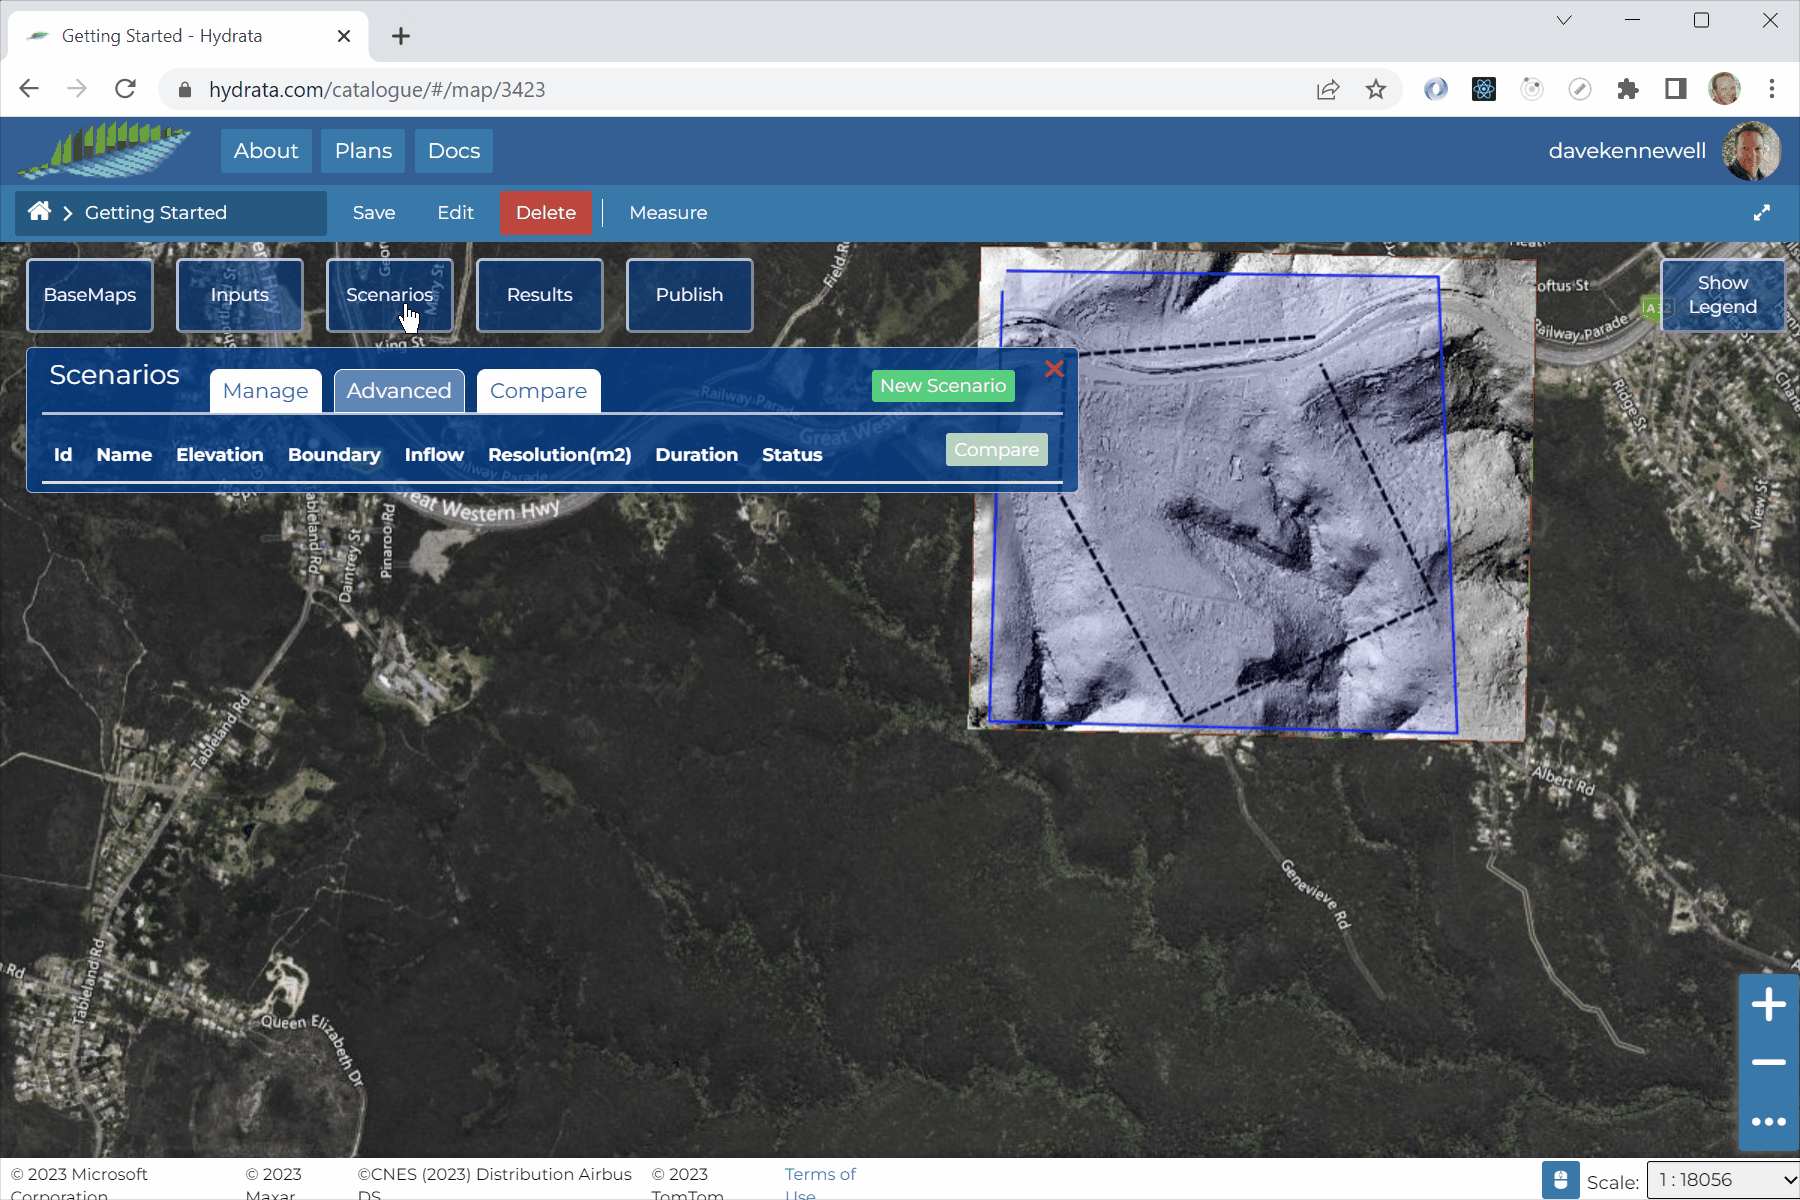
Click the
Scenariostab
Click the
New Scenario button
A Scenario is a combination of input datasets, as a minimum you will need to specify the following:
A name - you might call one Scenario
Existingand anotherProposedor perhaps you might use Scenario names to define the catchment over a series of years2000,2005,2010,2015,2025,2030, etc.An
Elevationdataset. So far we’ve only uploaded one elevation dataset, but you could have additional elevations, for example if you are designing a highway embankment, dam or new levee system.A
Boundarydataset. This will be the boundary we defined in the previous step.An
Inflowdataset. This will be the inflow we defined in the previous step.A model
Resolution. This is defined as the area (in square meters) of the largest triangle in the computational mesh. Often we will run a model at a low resolution (say 20m2) to get a “feel” for the catchment, then run the final computations at a high resolution (say 2m2) to get detailed analysis of small but important features. In larger models the resolution would typically be modified by defining aMesh Regionto enable high resolution in areas of interest and low resolution in upstream catchment areas. For our example we will enter2.The
Durationin “real world”hh:mmtime. For example, to simulate rainfall lasting two hours we would specify2:00in the box. For this example let’s use 30 minutes, by typing30in the box.
Once we are happy with the Scenario inputs, hit the
Build button. This will tell the server to package up all your data into Hydrata’s
 *.zipformat, ready for running in the next step. The Scenario status should change fromSaved->Building->Built. This process can take between 1 and 10 minutes, depending on the number of triangles in your model mesh.You can click the
Log button to review statistics, progress and any error reports about your Scenario builds or runs.